How to Debug Any API Response Like a Senior Developer
A practical API debugging workflow for fixing status codes, JSON errors, authentication problems, CORS issues, headers, request bodies, and broken response formats.
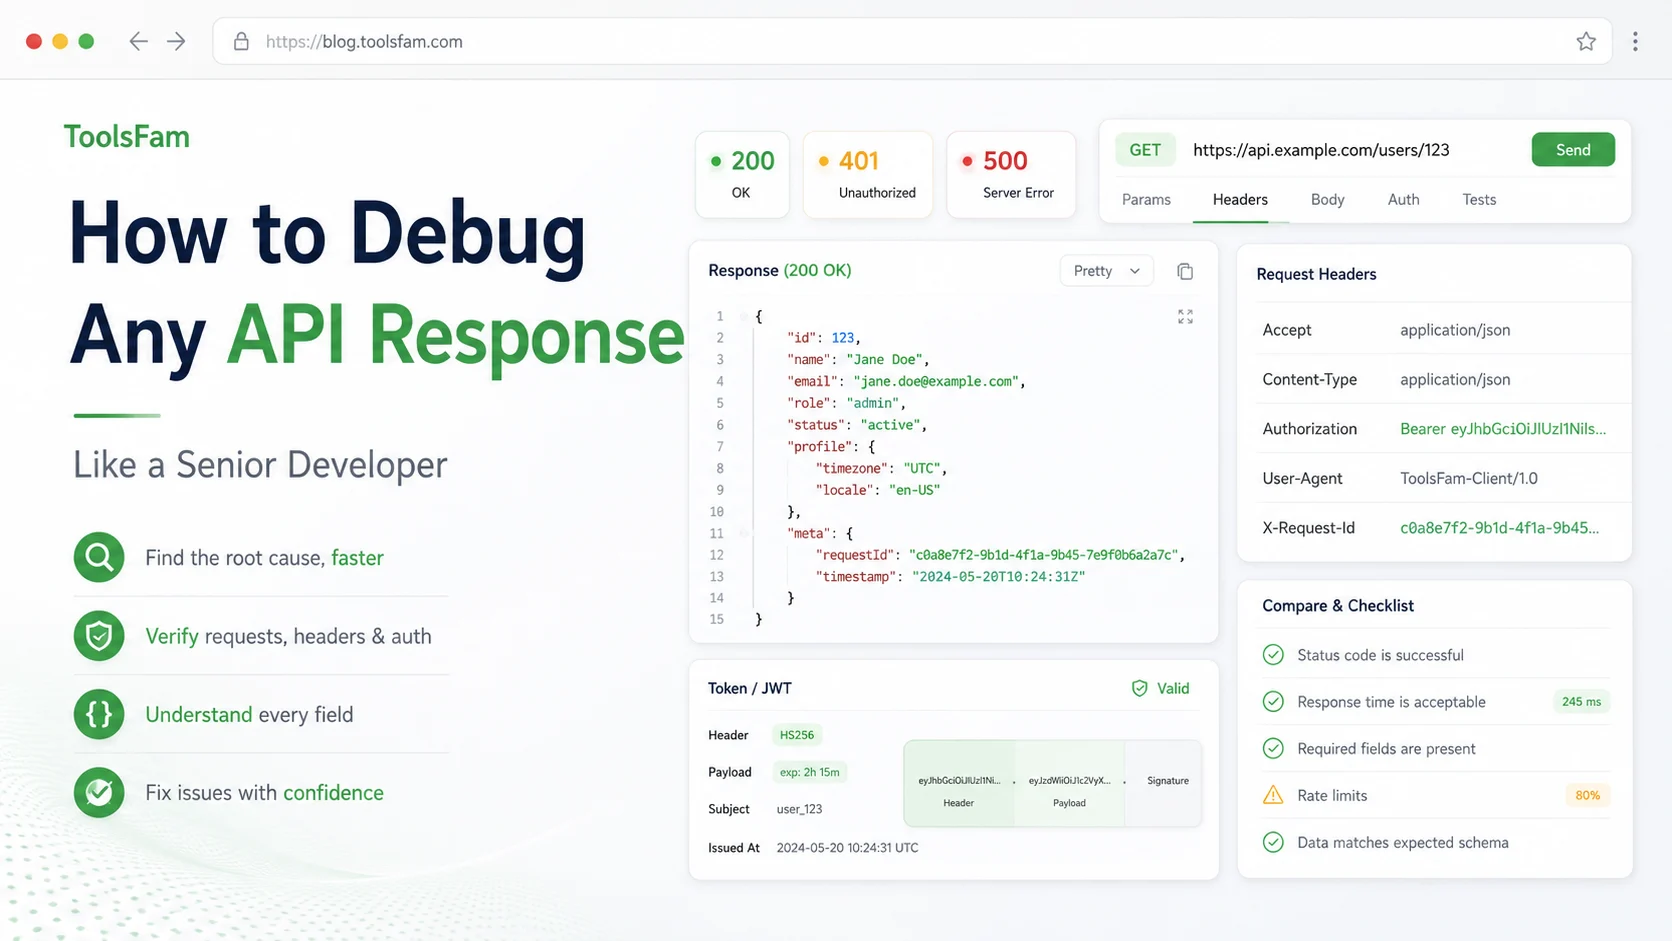
Most API bugs are not random. They usually come from one small mismatch: a wrong status code, expired token, missing header, invalid JSON, broken request body, CORS issue, or response shape that does not match what the frontend expects.
This guide gives you a practical workflow to debug almost any API response like a senior developer. The goal is not to guess. The goal is to isolate the problem step by step until you know exactly whether the issue is in the request, authentication, backend, browser, environment, or frontend parsing logic.
1. Start with the status code
Before reading the response body, check the HTTP status code. It immediately tells you what type of problem you are dealing with.
| Status | Meaning | What to check |
|---|---|---|
| 200 | Success | Response shape and data |
| 201 | Created | New resource was created |
| 400 | Bad request | Request body, query params, validation |
| 401 | Unauthorized | Missing, invalid, or expired token |
| 403 | Forbidden | User is logged in but does not have permission |
| 404 | Not found | Wrong endpoint, wrong ID, or missing resource |
| 422 | Validation error | Invalid fields or schema mismatch |
| 429 | Too many requests | Rate limits |
| 500 | Server error | Backend crash or unhandled exception |
A 4xx error usually means the client sent something wrong. A 5xx error usually means the server failed. A 2xx response means the request worked, but the returned data can still be incorrect.
2. Confirm the endpoint and HTTP method
Many API issues happen because the wrong URL or method is used. Check whether the API expects GET, POST, PUT, PATCH, or DELETE.
- GET usually reads data.
- POST usually creates data.
- PUT usually replaces data.
- PATCH usually updates part of the data.
- DELETE usually removes data.
Also check tiny URL mistakes. For example, /api/user, /api/users, and /api/users/ may behave differently depending on the backend.
One missing plural, wrong base URL, extra slash, or incorrect environment can waste a lot of debugging time.
3. Format the API response
Raw API responses are often compressed and hard to inspect. Before debugging the actual data, format the response using a JSON formatter.
For example, this response is hard to read:
{"user":{"id":42,"name":"Ayan","roles":["admin","editor"],"active":true},"meta":{"requestId":"req_92jks","duration":38}}After formatting, the structure becomes easier to understand:
{
  "user": {
    "id": 42,
    "name": "Ayan",
    "roles": ["admin", "editor"],
    "active": true
  },
  "meta": {
    "requestId": "req_92jks",
    "duration": 38
  }
}
Now you can quickly check for missing fields, null values, empty arrays, wrong data types, unexpected nesting, and inconsistent response structures.
You can use the ToolsFam JSON Formatter for this step.
4. Validate the JSON before blaming the frontend
Pretty JSON is not always valid JSON. A response can look readable but still be broken.
This is invalid because of the trailing comma:
{
  "name": "ToolsFam",
  "active": true,
}
This is invalid because JSON keys must use double quotes:
{
  name: "ToolsFam"
}
Valid JSON looks like this:
{
  "name": "ToolsFam",
  "active": true
}
If the API returns invalid JSON, your frontend may fail with errors like Unexpected token, JSON.parse error, or Unexpected end of JSON input.
5. Compare expected response vs actual response
A common frontend bug happens when the API returns data in a different shape than expected.
Expected response:
{
  "id": 1,
  "name": "Product name",
  "price": 100,
  "currency": "USD",
  "inStock": true
}
Actual response:
{
  "product_id": 1,
  "title": "Product name",
  "amount": "100",
  "currency": "USD",
  "stock": 1
}
The data looks similar, but the contract is different. The frontend expects id, but the API sends product_id. It expects name, but receives title. It expects price as a number, but gets amount as a string.
This is not a rendering problem. This is a response contract problem.
Use a diff tool to compare expected and actual responses before rewriting frontend code.
6. Check request headers
Headers often explain why an API works in one place but fails somewhere else.
Important headers to inspect:
Content-TypeAuthorizationAcceptOriginCookieX-API-KeyCache-Control
For most JSON APIs, the request should include:
Content-Type: application/json
Accept: application/json
For bearer token authentication, the header usually looks like this:
Authorization: Bearer YOUR_TOKENA common mistake is sending only the token without the word Bearer. That small mistake can cause a 401 error.
7. Debug authentication separately
If the API returns 401 or 403, isolate authentication before checking anything else.
Ask these questions:
- Is the token present?
- Is the token expired?
- Is the token being sent in the correct header?
- Does the user have permission for this resource?
- Is the frontend using the correct environment?
- Does the backend expect cookies or bearer tokens?
A 401 usually means the user is not authenticated. A 403 usually means the user is authenticated but not allowed. That difference matters.
8. Decode JWT tokens carefully
If your API uses JWT authentication, decode the token and inspect the payload. Useful fields include:
sub: user IDrole: permission levelexp: expiry timeiat: issued timeaud: audienceiss: issuer
If the token is expired, the API may reject the request even if the token format looks correct.
Do not paste real production tokens into random websites. Use privacy-first tools and sanitized examples whenever possible.
9. Inspect query parameters
Query parameters often break filtering, pagination, and search APIs.
Example:
/api/products?page=1&limit=20&sort=priceCheck whether the backend expects page or offset, whether the values are encoded, and whether filters should be strings, arrays, or JSON.
This URL is risky because it contains a raw space:
/api/products?category=men shoesThis is safer:
/api/products?category=men%20shoesUse a URL encoder when working with spaces, symbols, emails, search terms, or special characters.
10. Inspect the request body
For POST, PUT, and PATCH requests, inspect the body carefully.
This may fail if the backend expects age as a number:
{
  "email": "user@example.com",
  "age": "25"
}
This is better:
{
  "email": "user@example.com",
  "age": 25
}
Also check required fields. If the backend expects name, email, and password, but the request only sends email, a 400 or 422 response is expected.
11. Understand CORS errors
If an API works in Postman but fails in the browser, CORS may be the issue.
Browsers block some cross-origin requests unless the server allows the frontend origin. Postman does not enforce browser CORS rules, so “it works in Postman” does not always prove the frontend is wrong.
Common CORS-related headers include:
Access-Control-Allow-OriginAccess-Control-Allow-MethodsAccess-Control-Allow-Headers
CORS is usually fixed on the backend, not by changing random frontend code.
12. Check environment variables
APIs often break because the app is calling the wrong environment.
Common mistakes include:
- The frontend points to localhost in production.
- Staging uses production keys.
- Production uses an old API URL.
- The environment variable is missing.
- The variable name is wrong.
- The deployment was not restarted after changing env values.
Example:
NEXT_PUBLIC_API_URL=https://api.example.comIf this value is missing or wrong, every request may fail.
13. Check caching
Sometimes the API is fixed, but the app still shows old data.
Check browser cache, CDN cache, server cache, framework cache, fetch cache, and API gateway cache.
If the response looks old, confirm whether the request is actually hitting the server or being served from cache.
14. Reproduce with the smallest valid request
When debugging gets confusing, reduce the request.
Instead of testing a large payload with nested data, metadata, preferences, permissions, and settings, start with the smallest valid request.
{
  "name": "Ayan",
  "email": "ayan@example.com"
}
If the minimal request works, add fields back one by one. This is one of the fastest ways to find the exact failing field.
15. Use this API debugging checklist
- Is the endpoint correct?
- Is the HTTP method correct?
- Is the status code expected?
- Is the response valid JSON?
- Is the response shape correct?
- Are the request headers correct?
- Is authentication working?
- Is the token expired?
- Are query parameters encoded?
- Is the request body valid?
- Is CORS blocking the browser?
- Is the app using the correct environment?
- Is caching showing old data?
- Can the issue be reproduced with a minimal request?
Useful ToolsFam tools for API debugging
You can use ToolsFam to speed up common API debugging workflows.
- JSON Formatter
- JSON Validator
- JSON Compare
- API Playground
- JWT Decoder
- URL Encoder and Decoder
- Base64 Encoder and Decoder
- Text Diff Checker
- CSV to JSON Converter
- JSON to CSV Converter
A simple API debugging workflow looks like this:
Request → Inspect → Format → Validate → Compare → Fix → Test again
Final takeaway
Senior developers do not debug APIs by guessing. They isolate the problem.
First, check the status code. Then inspect the request. Then validate the response. Then compare expected vs actual data. Then test the smallest possible version.
The next time an API breaks, do not immediately rewrite your frontend code. Check the response first.